I painted bolt action germans two years ago and wanted to try the game soon so I started making scatter terrain. This one is a rather large trench in winter.
Final result
Materials
3.5cm thick XPS foam
1mm thick cardboard sheet
Gamergrass tufts
AK Interactive Snow Microballoons
AK Interactive Snow
AK Interactive Snow Sprinkles
Sand
Army painter Razorwire
Qtips
Step by step
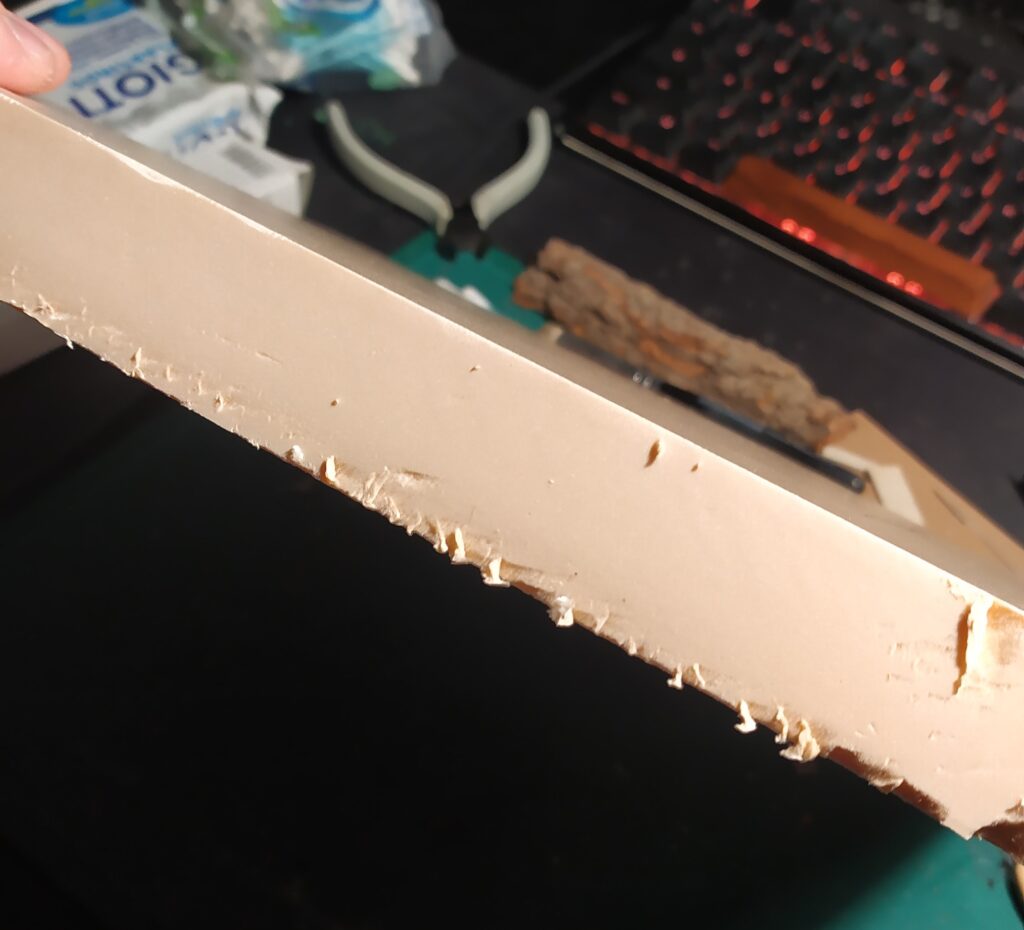
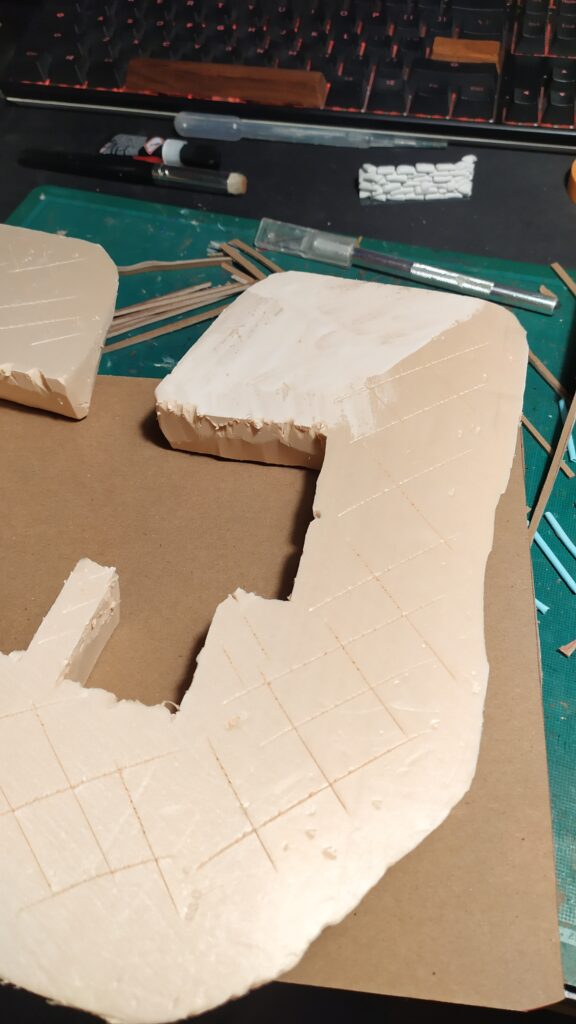
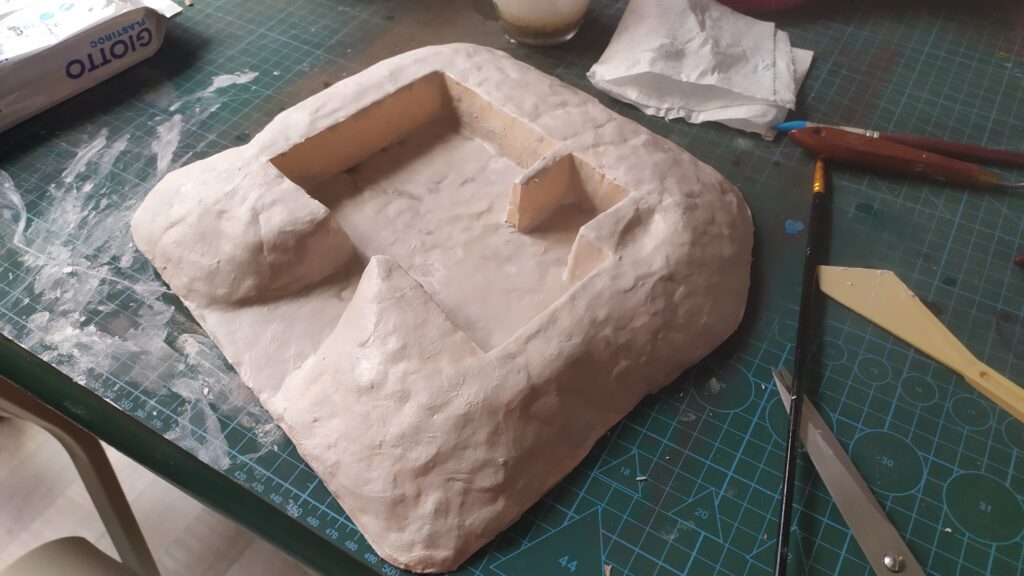
Select the main material, here I used 3.5cm thick XPS Foam, but you could use anything you’re comfortable with. XPS foam is light and easy to work with.
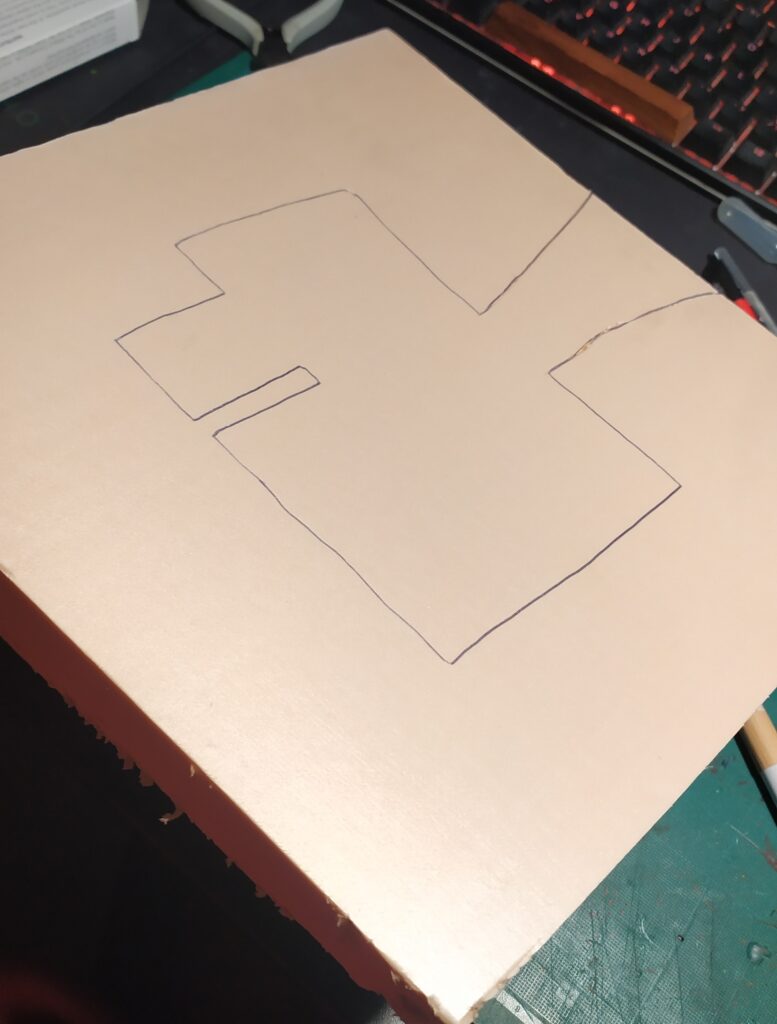
Draw the shape you want for the trenchCut the foam. A hot wire is perfect, but I don’t have one so I used a craft knife. It’s a bit messier but it’s no problem.
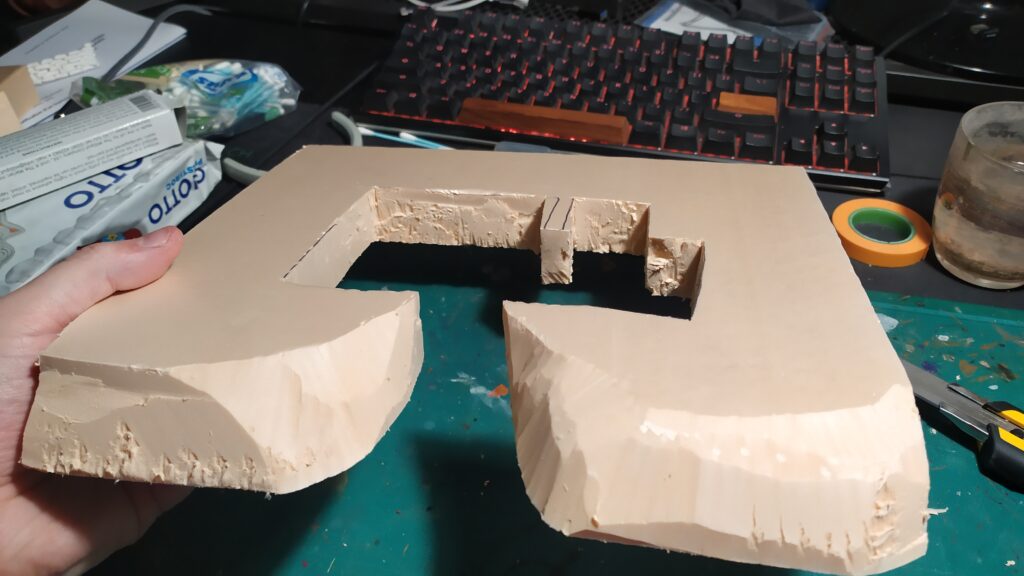
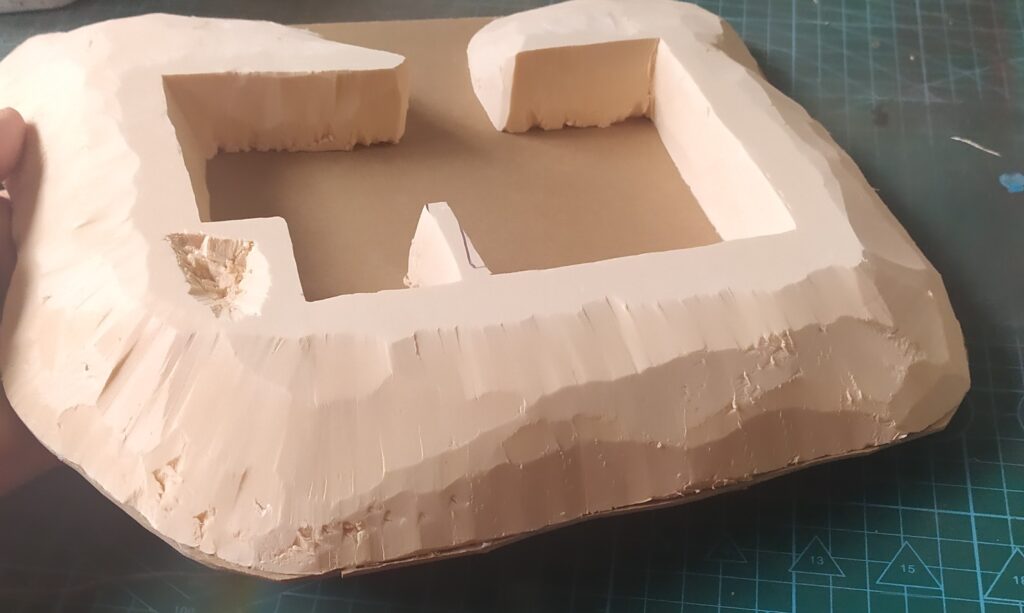
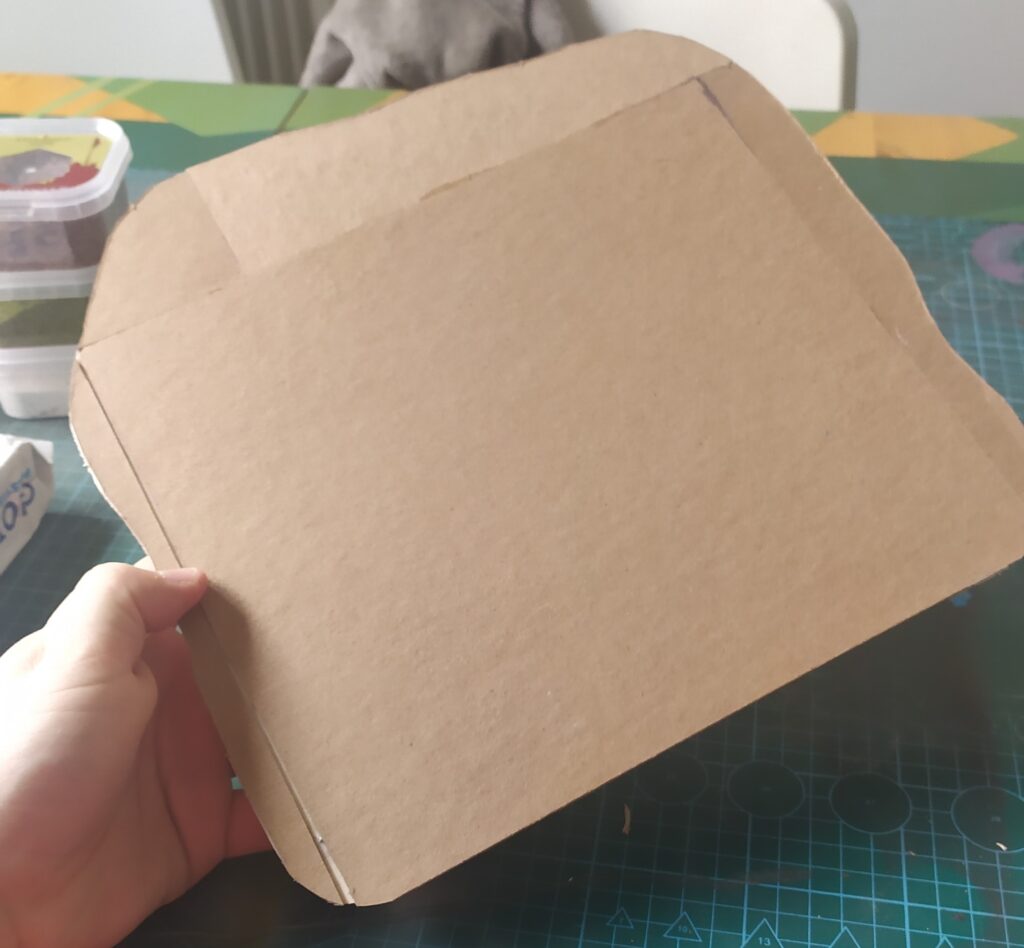
Next, we smoothen the exterior angles.Little by little, it’s starting to take shape.I cut the back of the foam terrain in x shapes to help adhere to the cardboard and started applying PVA glue.Sticked the piece to cardboard sheets, pressed it under heavy books and let it dry overnight.
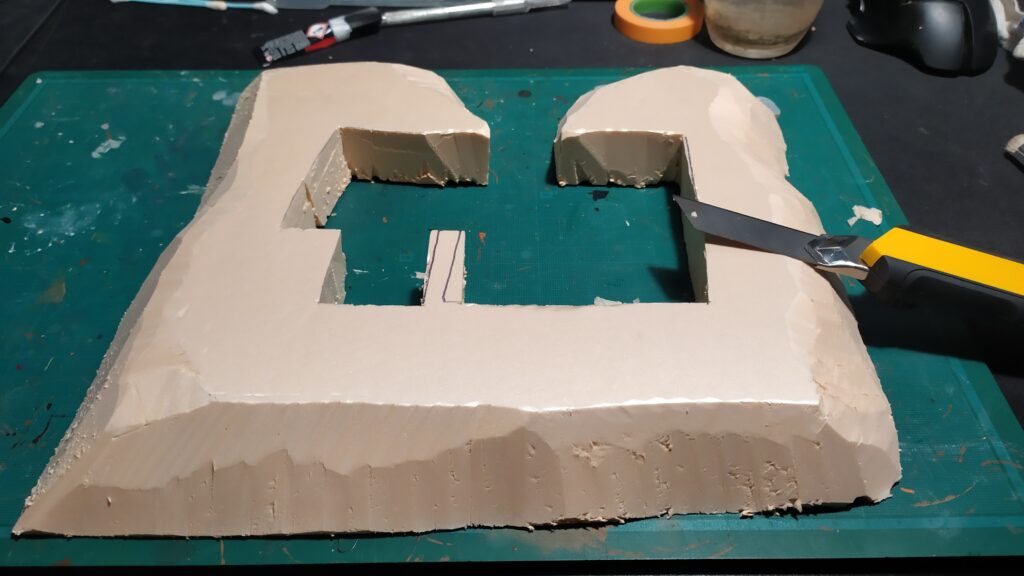
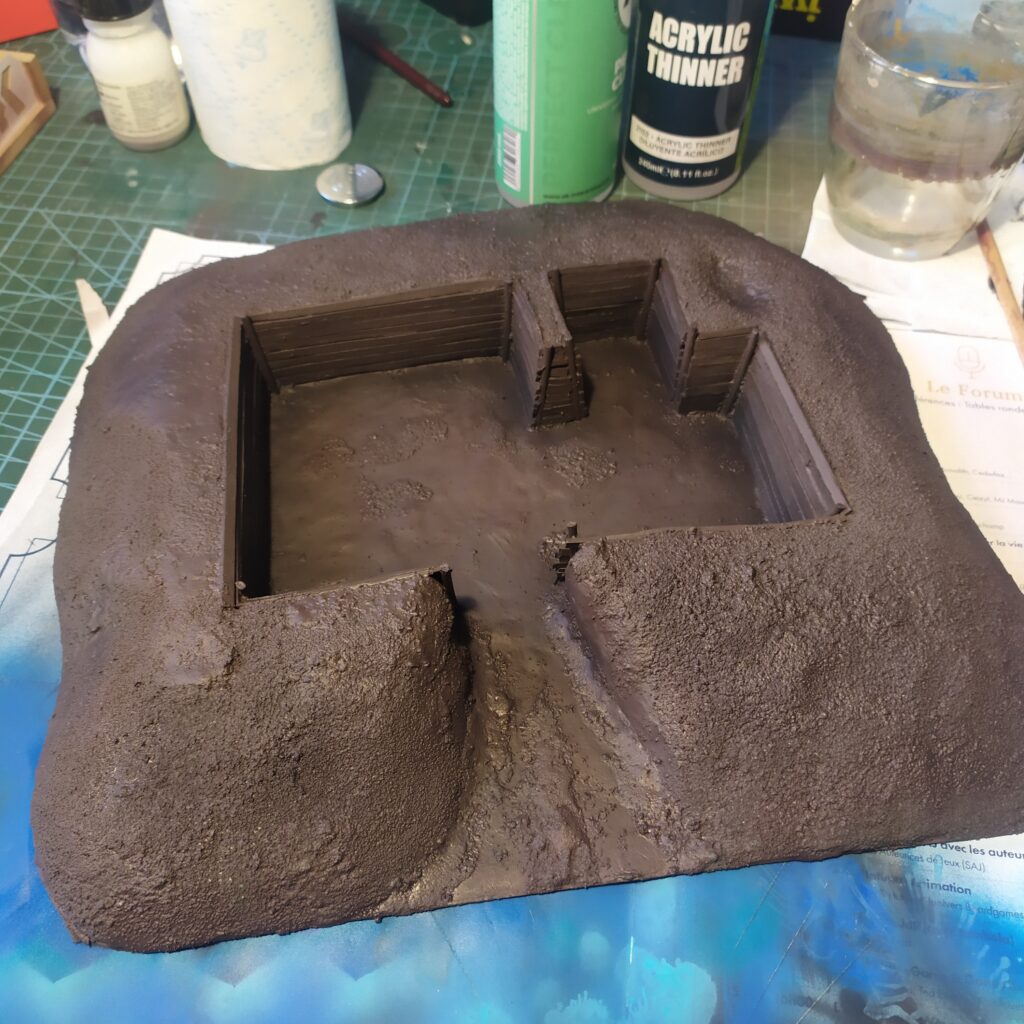
Adding tiny bit of texture, and sealing the build
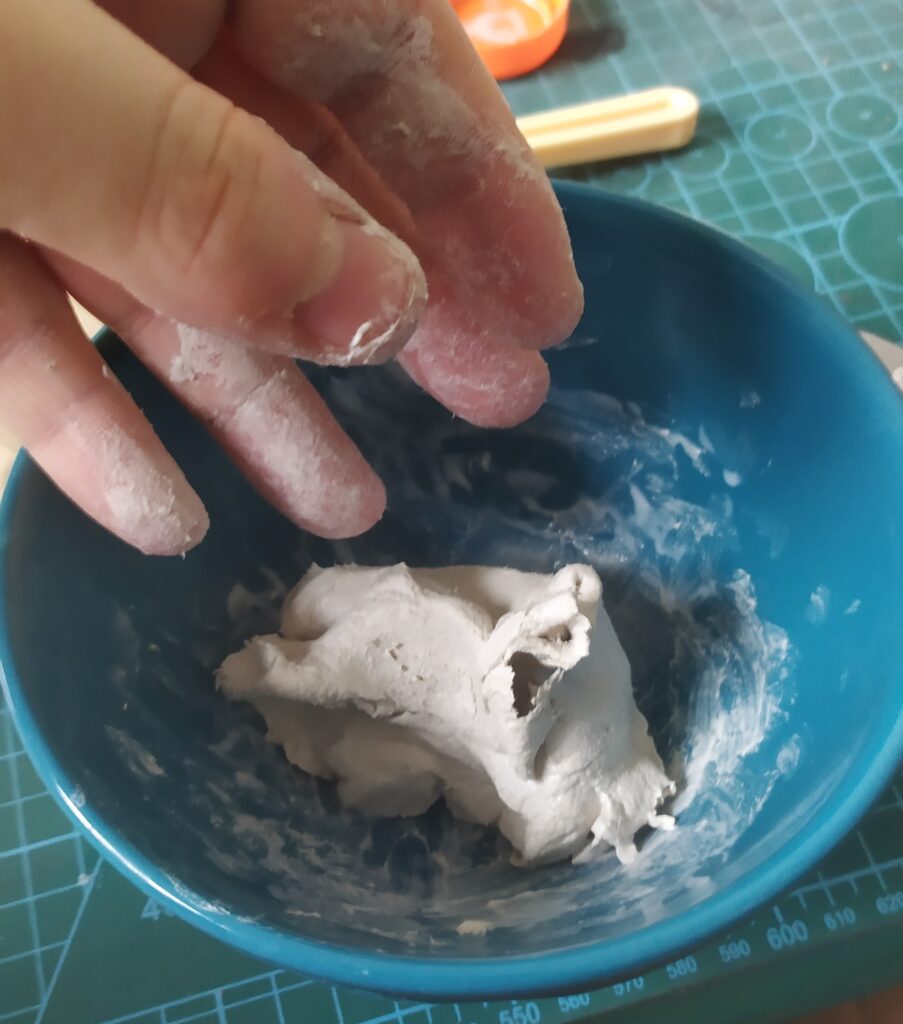
The aerosols contained in primer cans eat XPS Foam, so we need to seal it at some point. I used Air-Dry clay mixed with PVA glue. I head air-dry clay cracks and is brittle when it’s dry, but I’m applying a thin layer so it shouldn’t be a problem and mixing it with PVA glue should give it a bit of elasticity.
After this step, I felt like adding a bit of sand but it was an error, don’t do this for the whole terrain, you can do this on the floor in the trench though.
Building the actual settlement
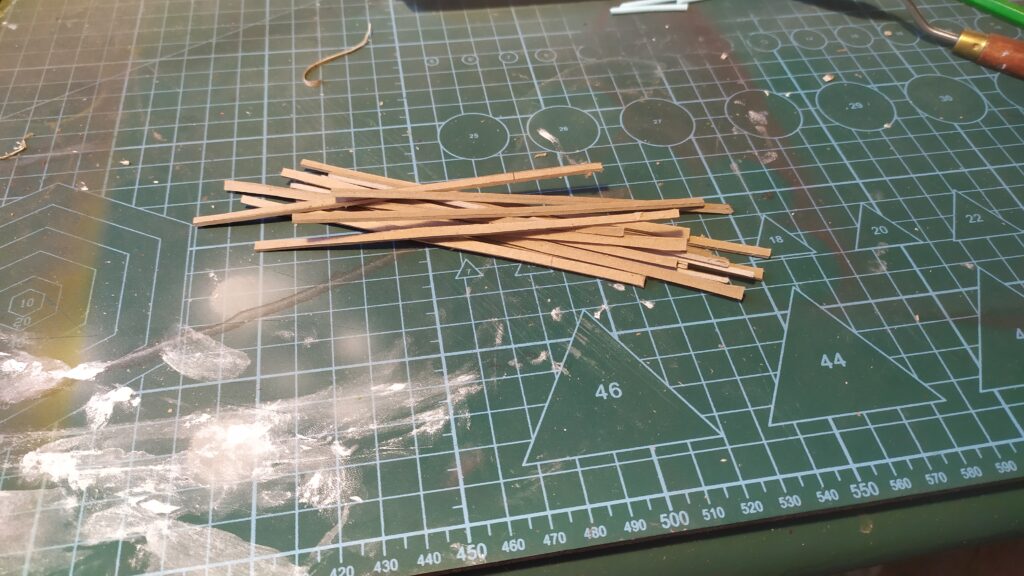
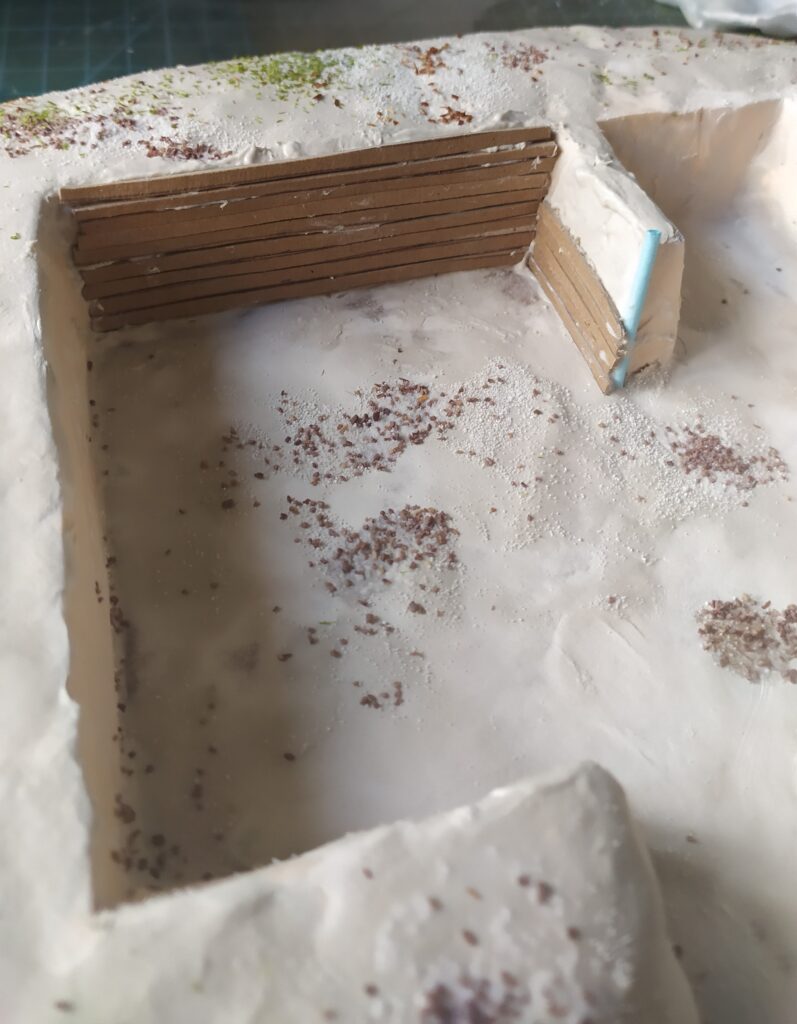
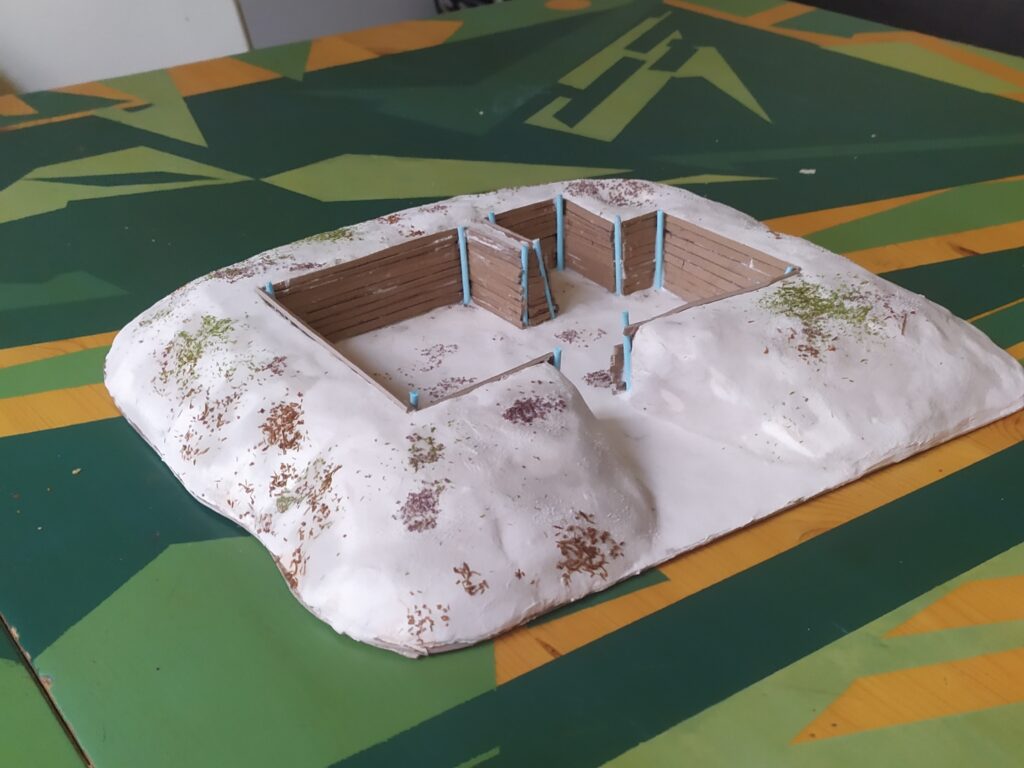
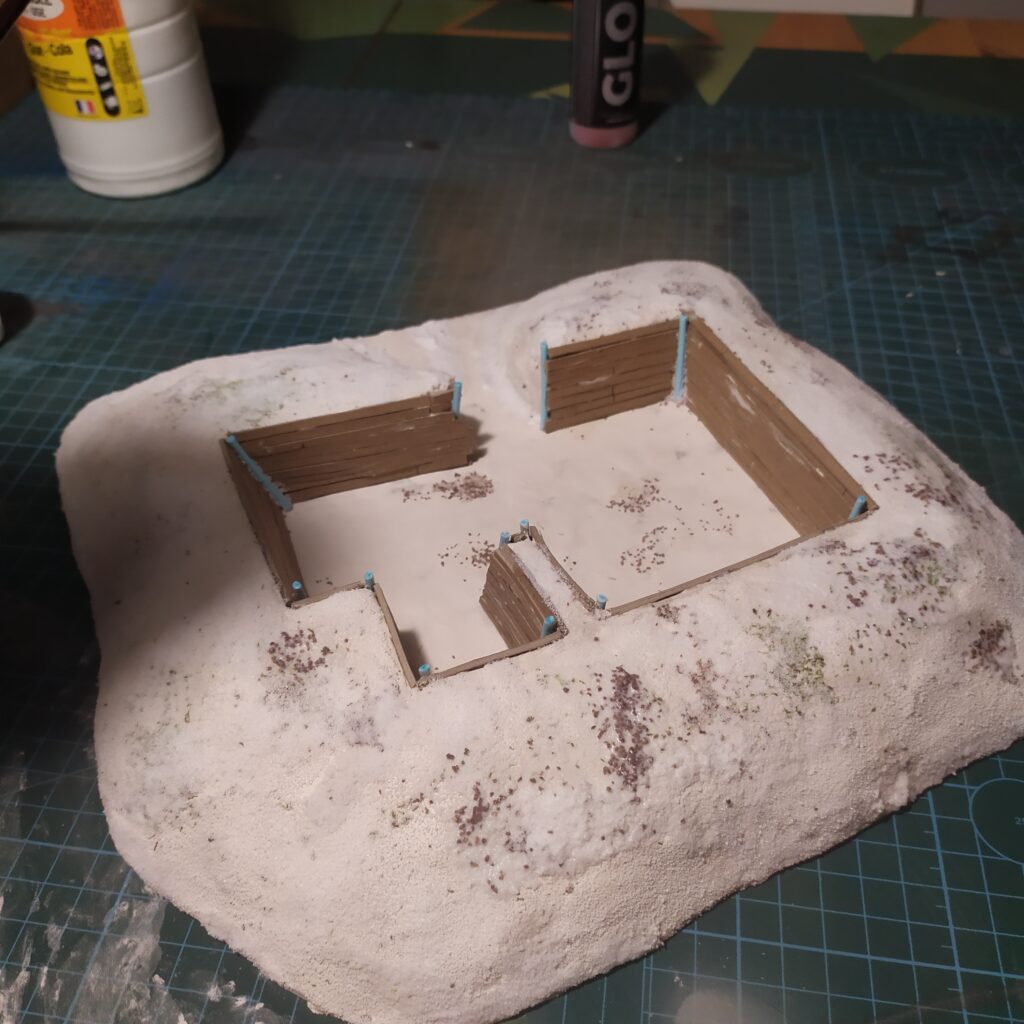
Cut some cardboard planks. They are 3mm large. Their length should match the surface they’re going to be glued to.Now I have added a little bit of clay to one of the trench’s walls, applied a coat of PVA glue, and then stuck the planks onto it. You can see a qtip stick on the photo, use them only for exterior angles.
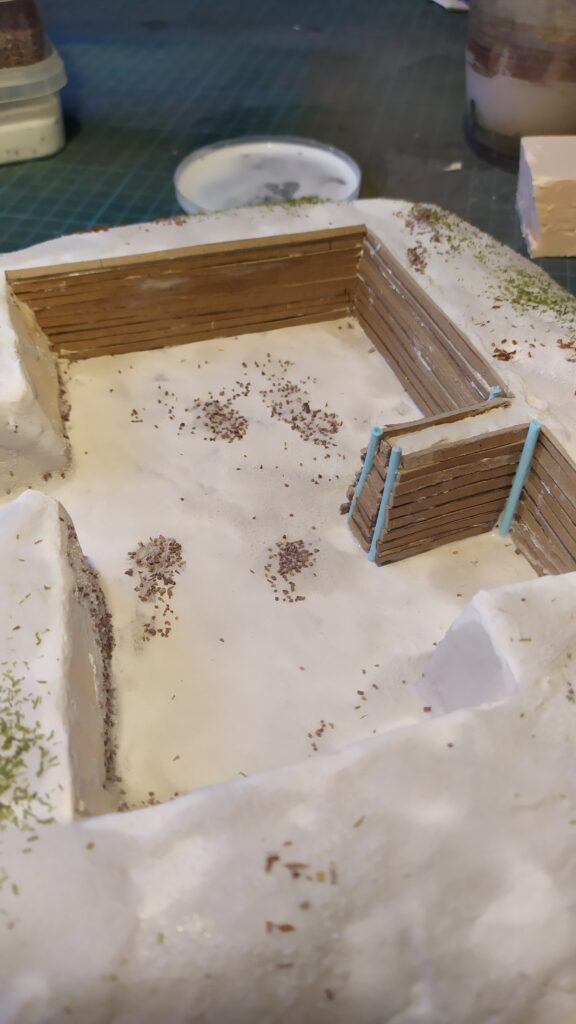
Once you’ve covered to adjacent walls in planks you can add a qtip stick on the junction.Repeat the until all the walls are covered. You can also do the floor if you feel like it.
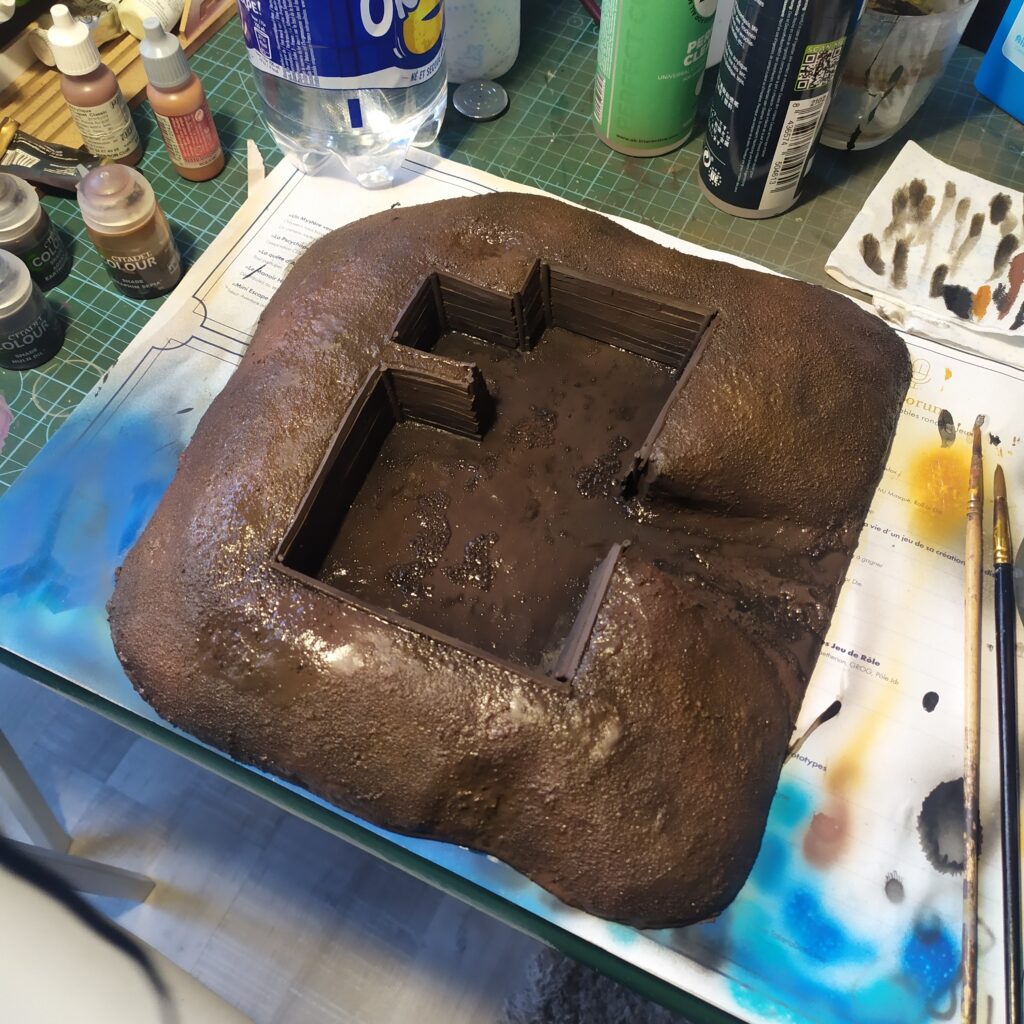
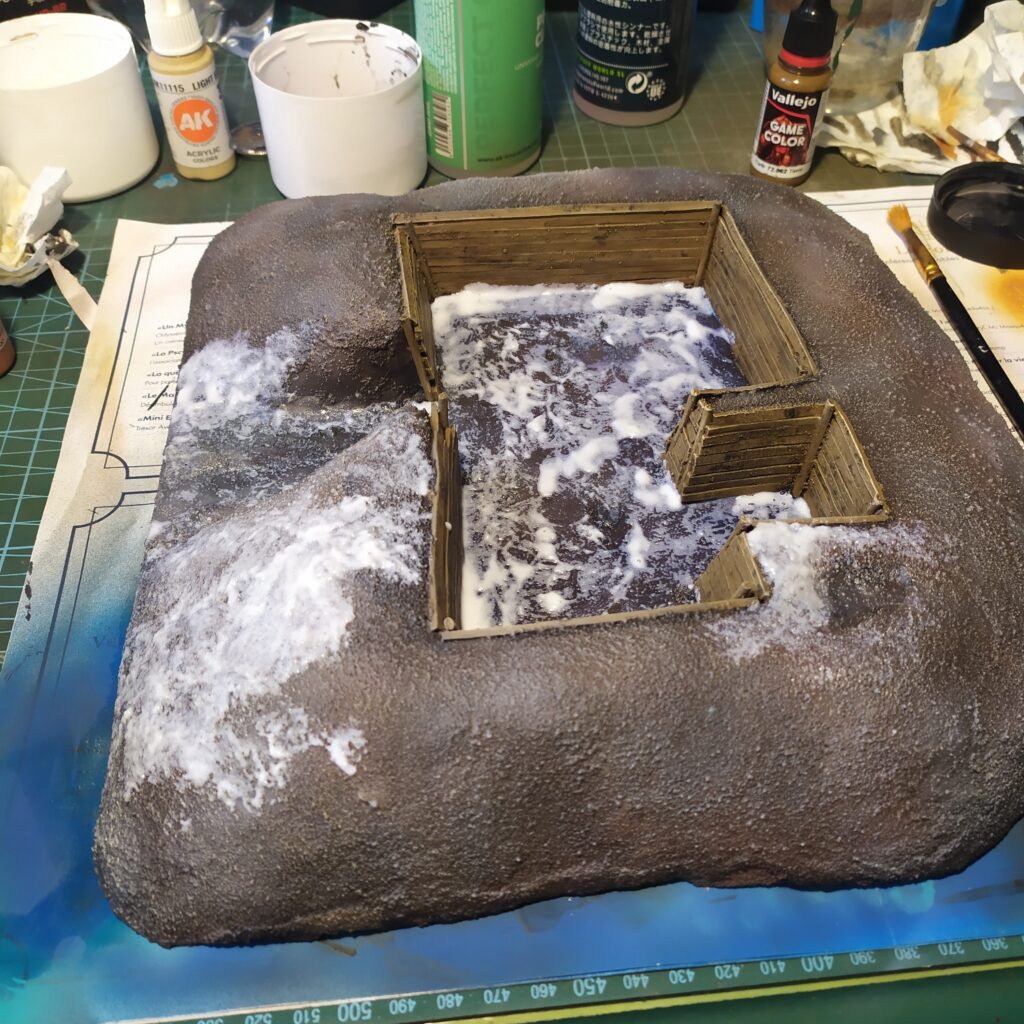
It’s not dry yet, but look at that magnificent white of the dry clay on the floor 😍
Adding texture
Okay this step is probably overkill because we’re going to cover everything with snow but I didn’t know exactly what I was going to do at this moment.
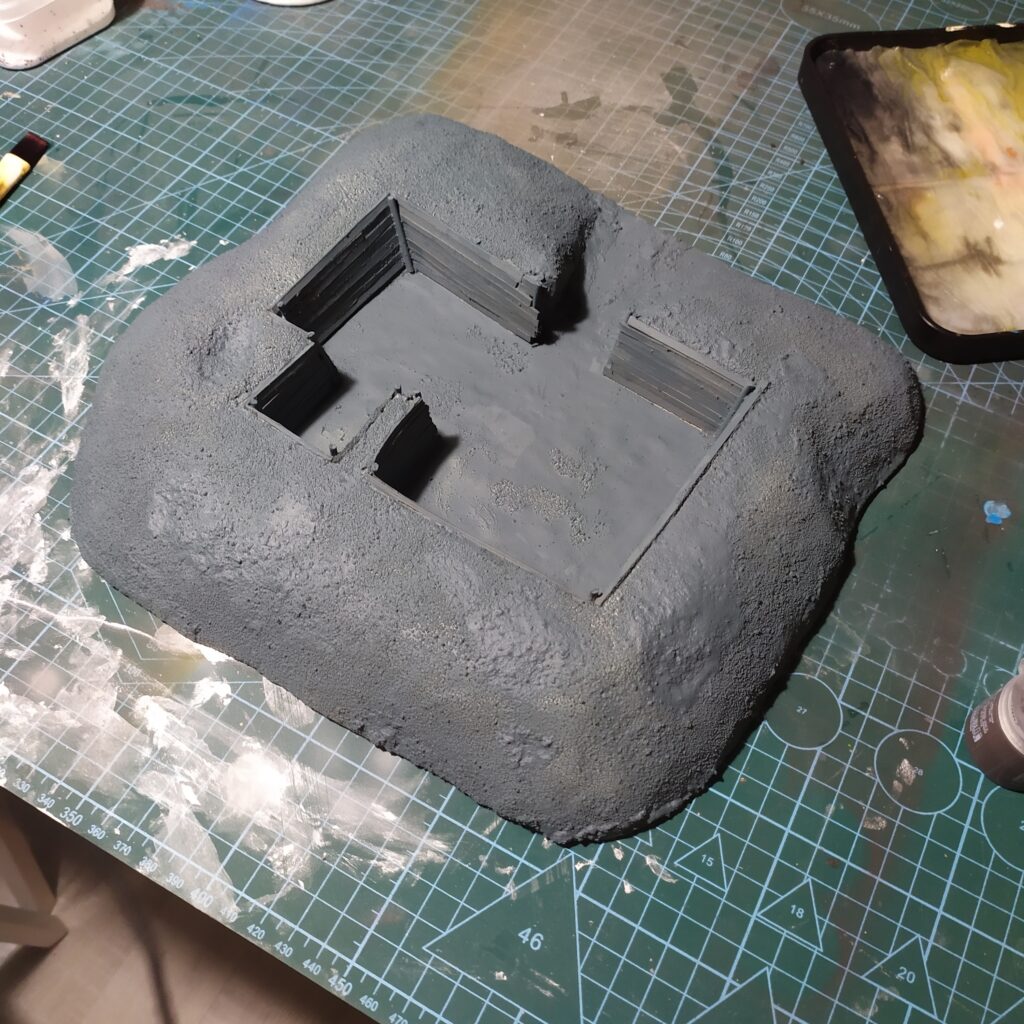
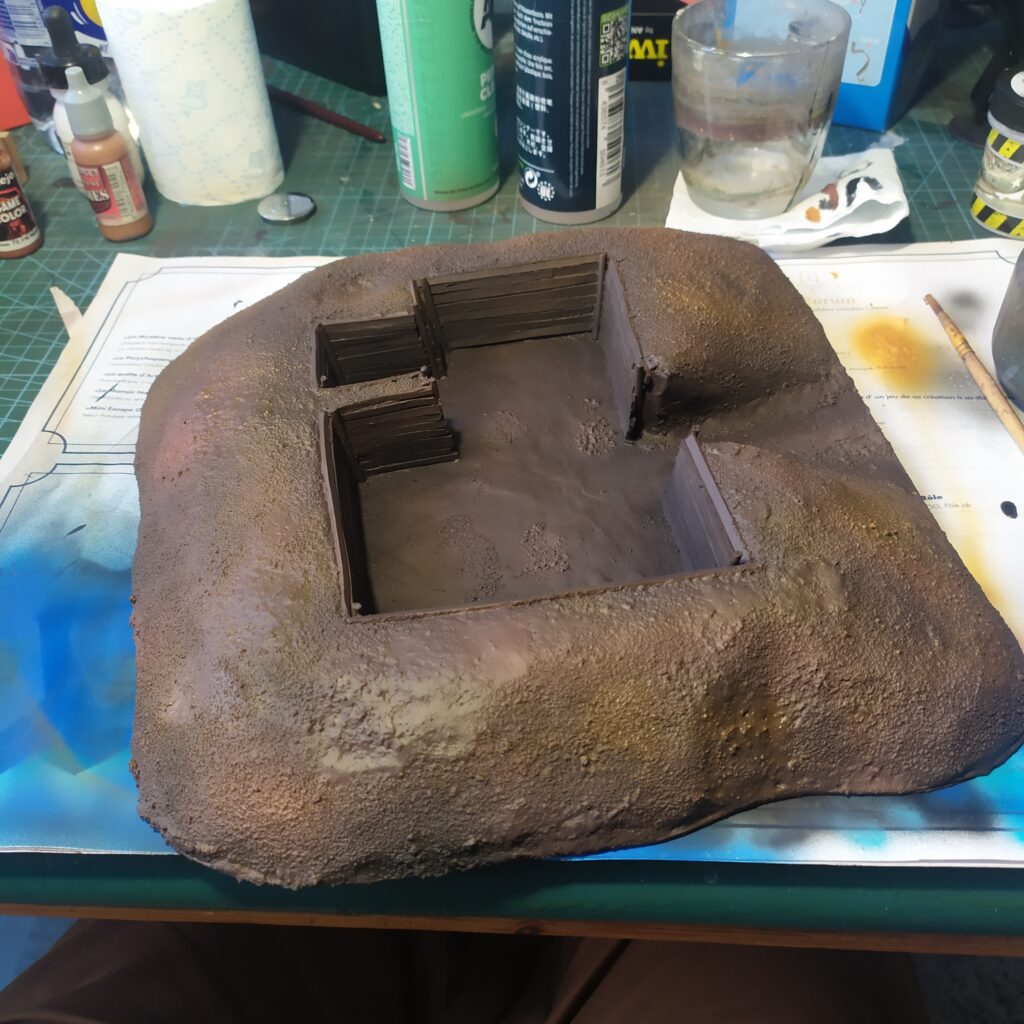
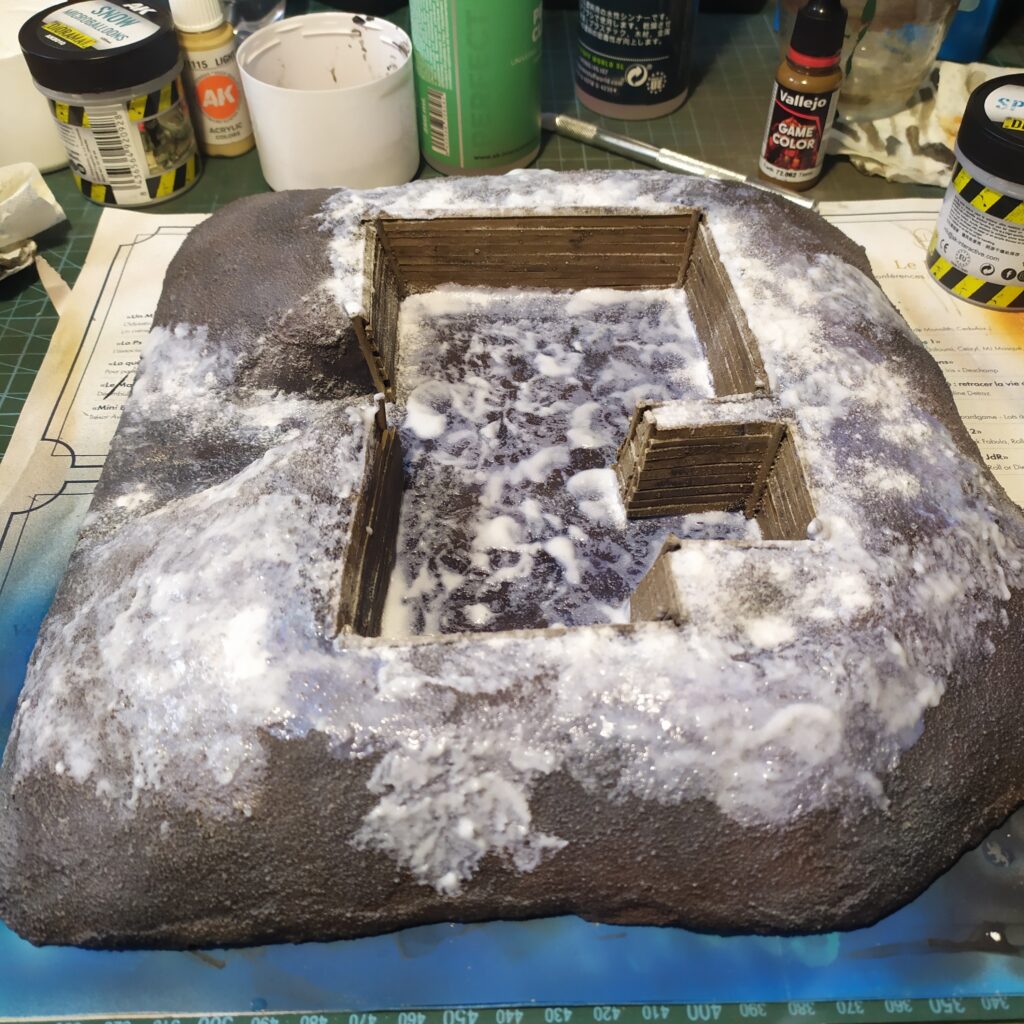
I covered everything except the floor and the entrance’s wall in PVA glue and added sand.I primed everything in gray, doesn’it look great already ?
Paint
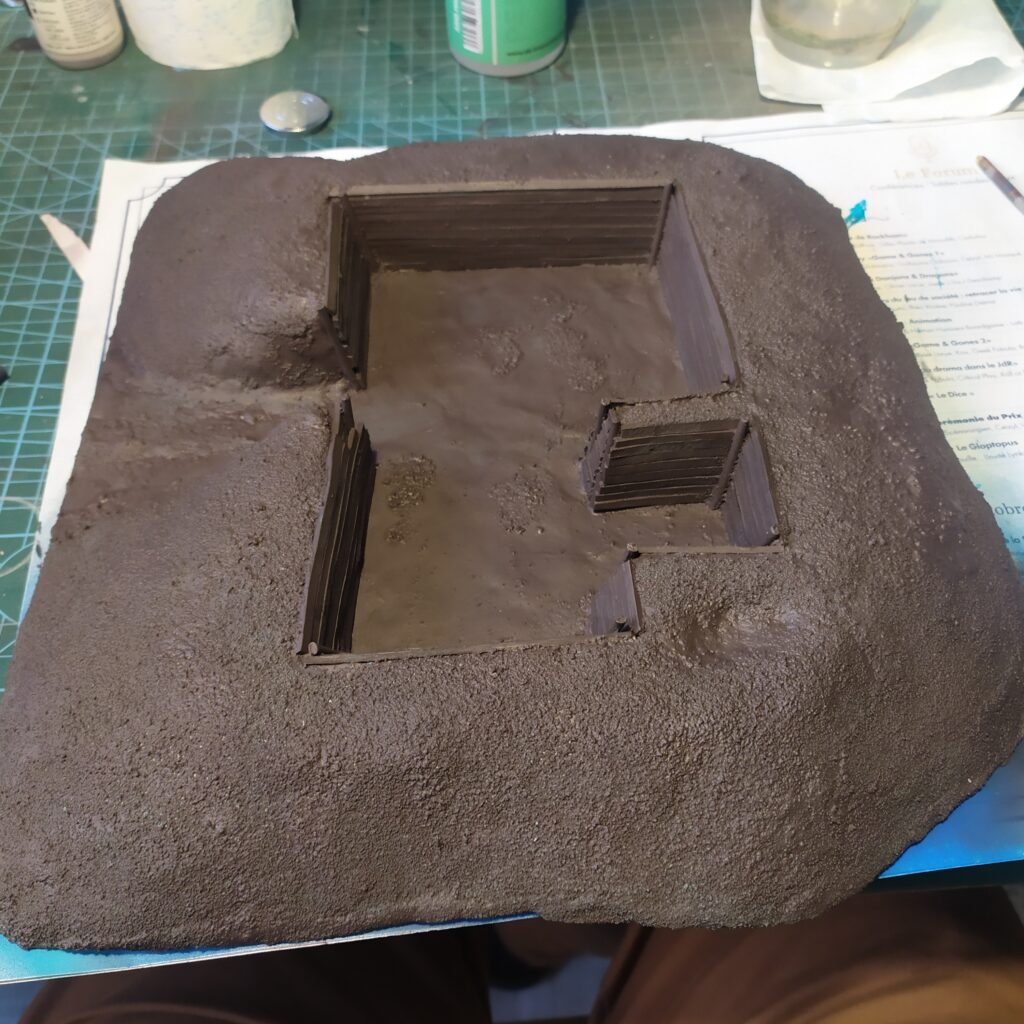
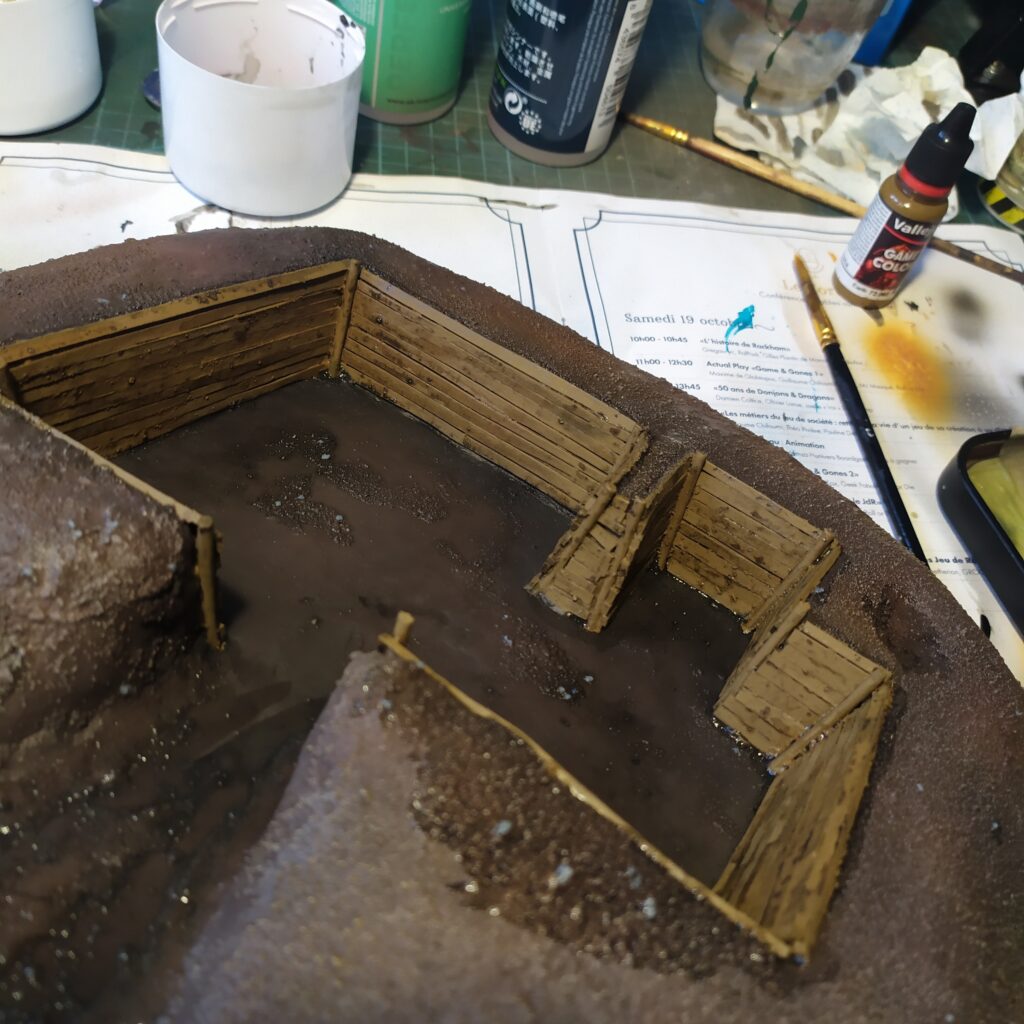
Painted everyting in dark brown (homemade equivalent to Citadel Dryad Bark)Airbrushed black in the interior corners. I’m glad I got this idea as I think it looks wonderful, I’m lowkey sad this doesn’t show in the final result.Airbrushed two or three lighter tones of brown on the ground around the trench. Vary light and saturation.Wash the whole piece with a black wash.I painted the planks with Vallejo Earth 72.062Wash time ! Again with the black wash.Drybrushed everything with beige paint.
Snow Texture
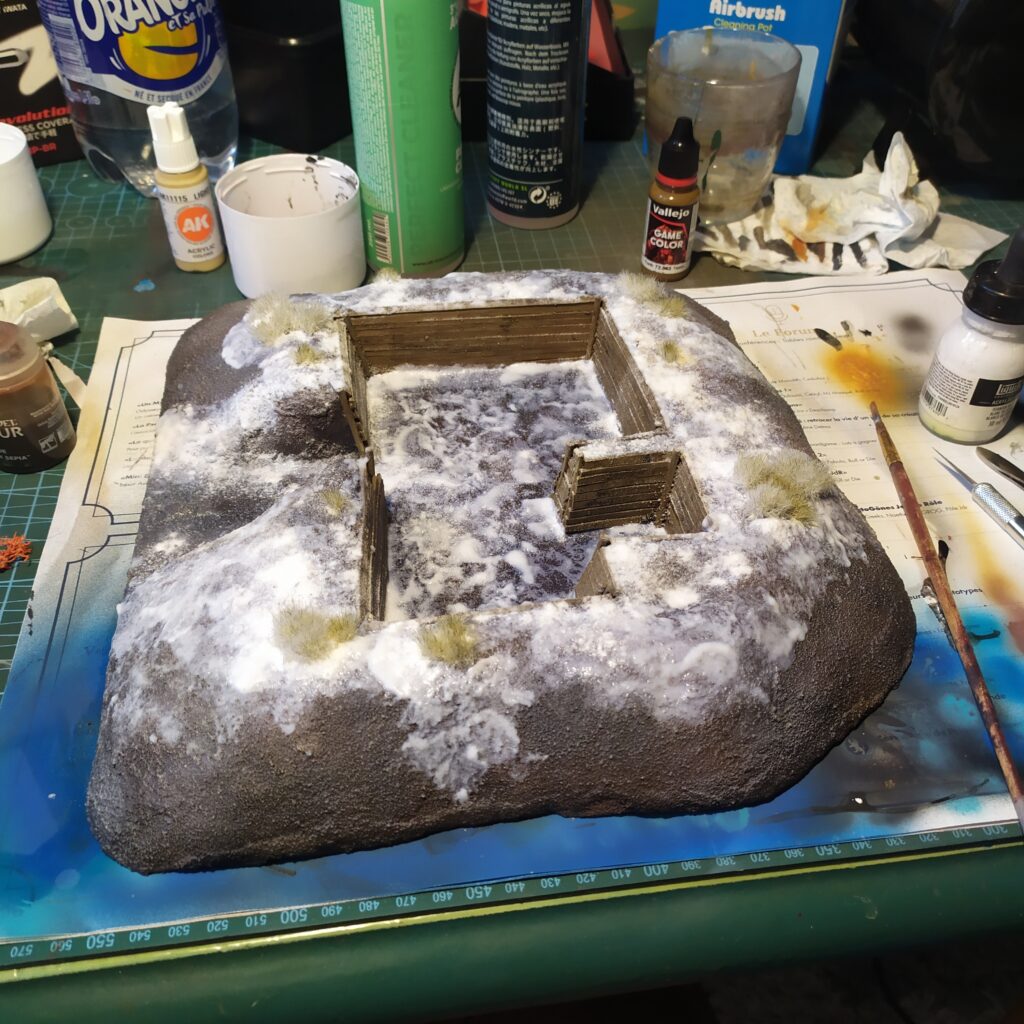
I started applying snow sprinkles on the terrain.
Added some tufts. I love the result so far, I could totally have stopped here and it would have looked very nice !Started applying AK Snow. I haven’t covered everything in snow sprinkles as I was going to cover a lot of it with snow afterwards.Once I applied snow everywhere I wanted, added the razorwire, and then I sprinkled AK snow microballons all over the terrain. I let it dry and voilà !
I’ve made a little error, I applied the snow right out of the pot. I should have mixed it with a tiny bit of water to get a smoother finish. It’s also easier to work with and you use less of it.
Tell me what you think of it and it you try to replicate my process, please share the pictures 😃